The further implementation of the described DevOps scenario (i.e. after you have already prepared your platform and installed the Jenkins CI server) implies the required configuration to be applied to our integrator.
So, follow the next steps to accomplish this:
-
Access Jenkins web-interface by selecting the Open in browser button next to the corresponding environment at your dashboard:

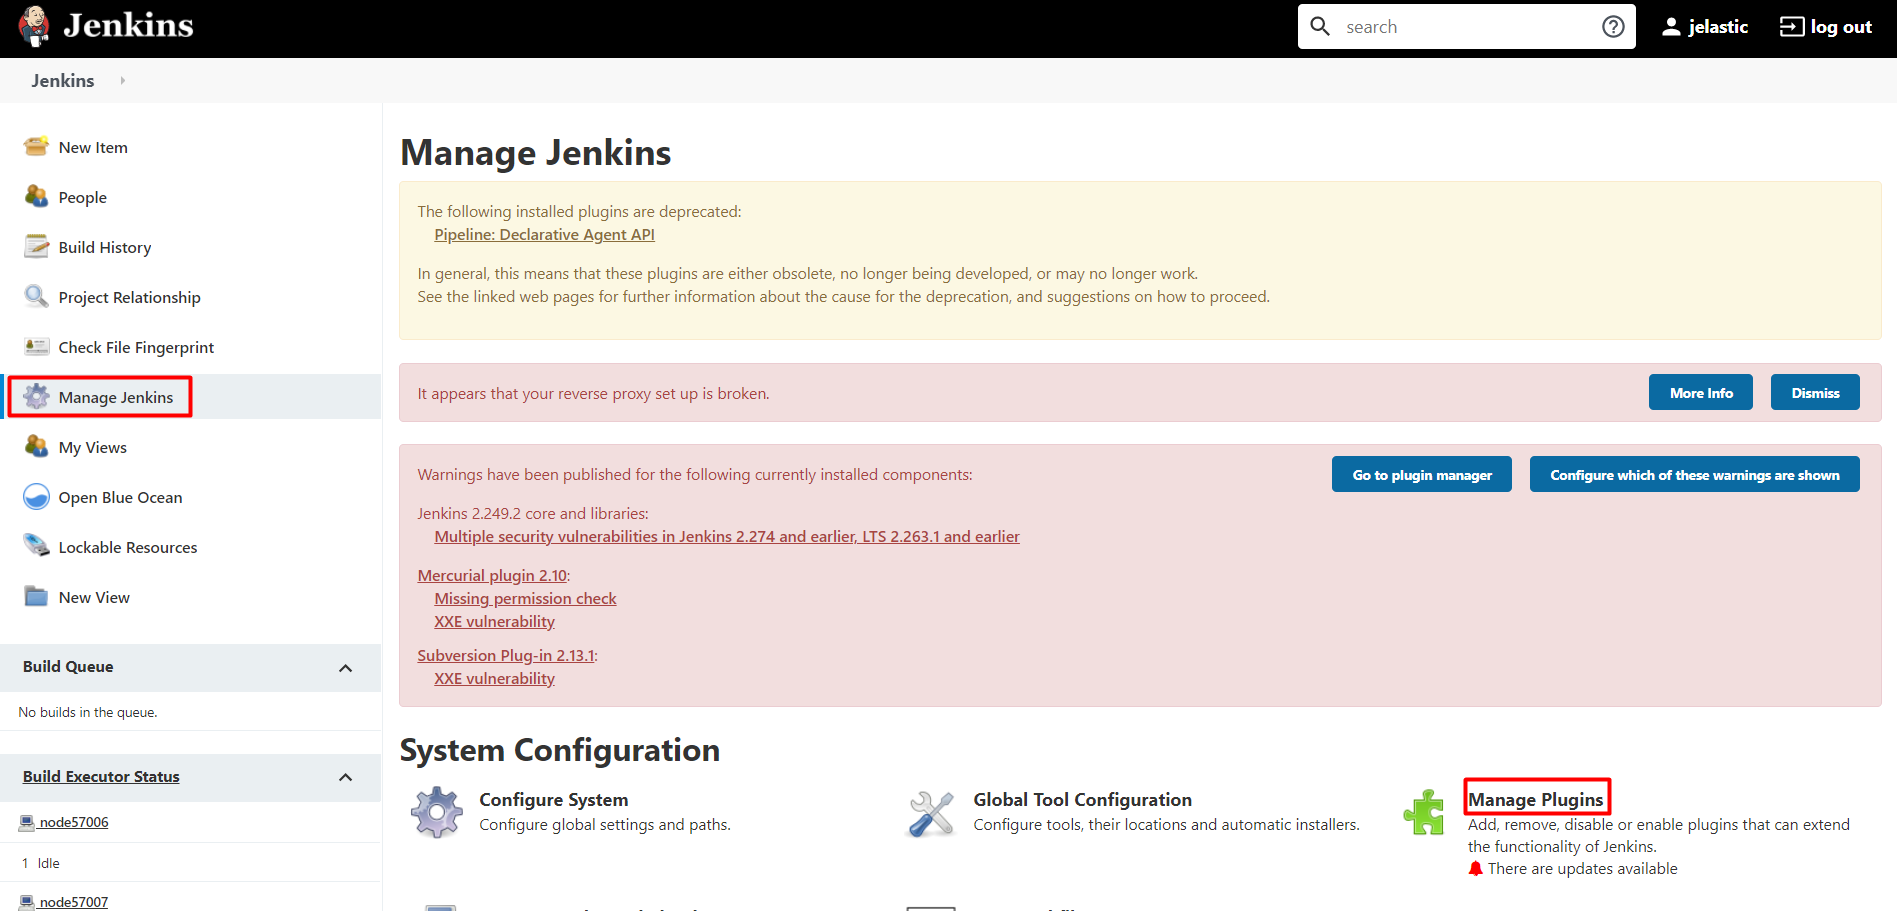
- At the Jenkins home page, opened in a new browser tab, click on the Manage Jenkins option at the left-hand menu and select the Manage Plugins link within the appeared list.

-
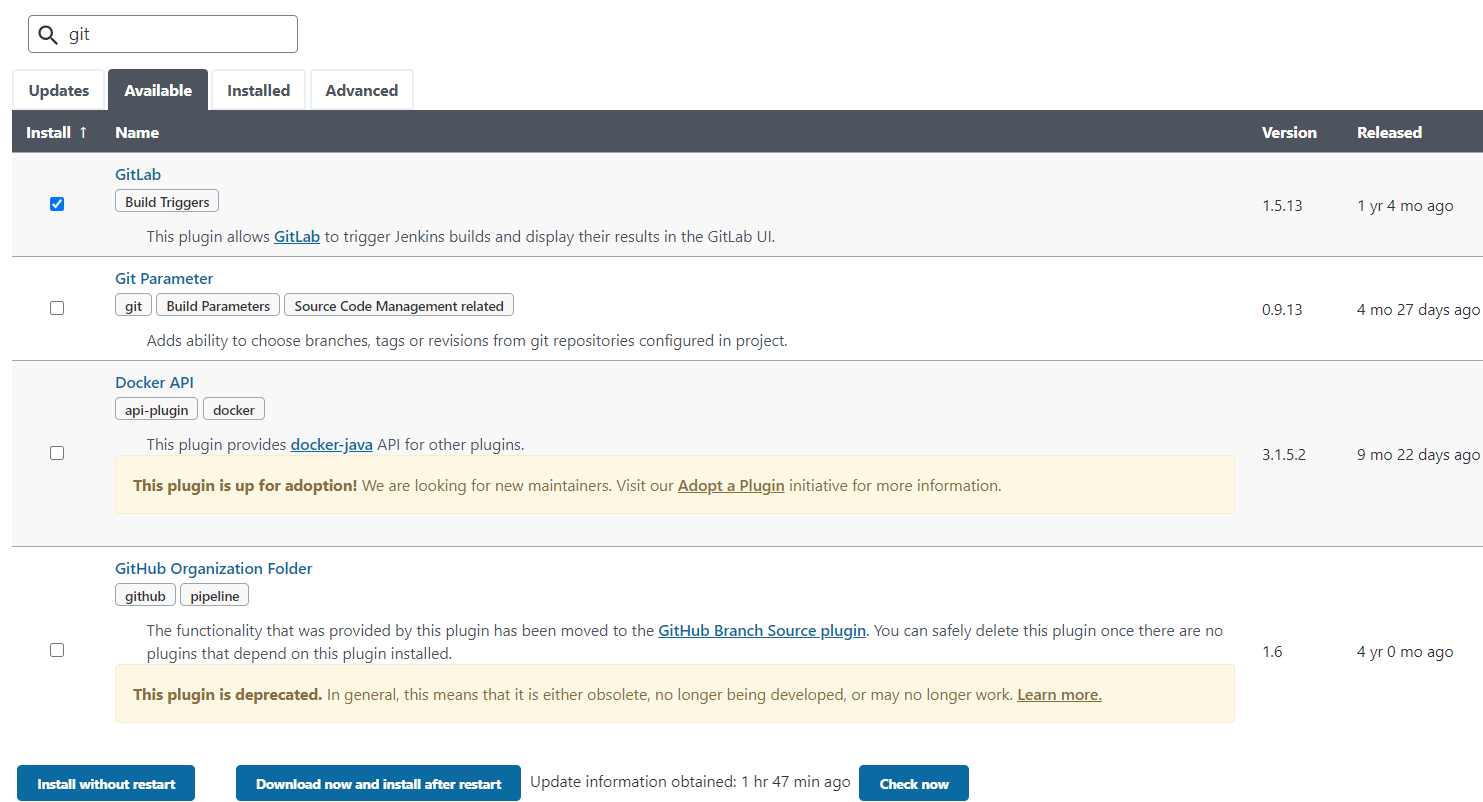
After you’ve been redirected to the Plugin Manager, switch to the Available tab, find the following plugins using the search Filter field above and tick them for installation:
- Git Plugin - is required for building our project’s source (as for this example we’ll use one, stored at the GitHub repository)
- Envfile Plugin - is used for storing system environment variables (its necessity is driven by security restrictions, implemented at Apiqcloud, which forbid the direct exporting of environment variables from the Tomcat server)

Click Install without restart when ready.
During the installation process, tick the Restart Jenkins when installation is complete and no jobs are running option to automatically restart Jenkins for enabling the chosen plugins.
-
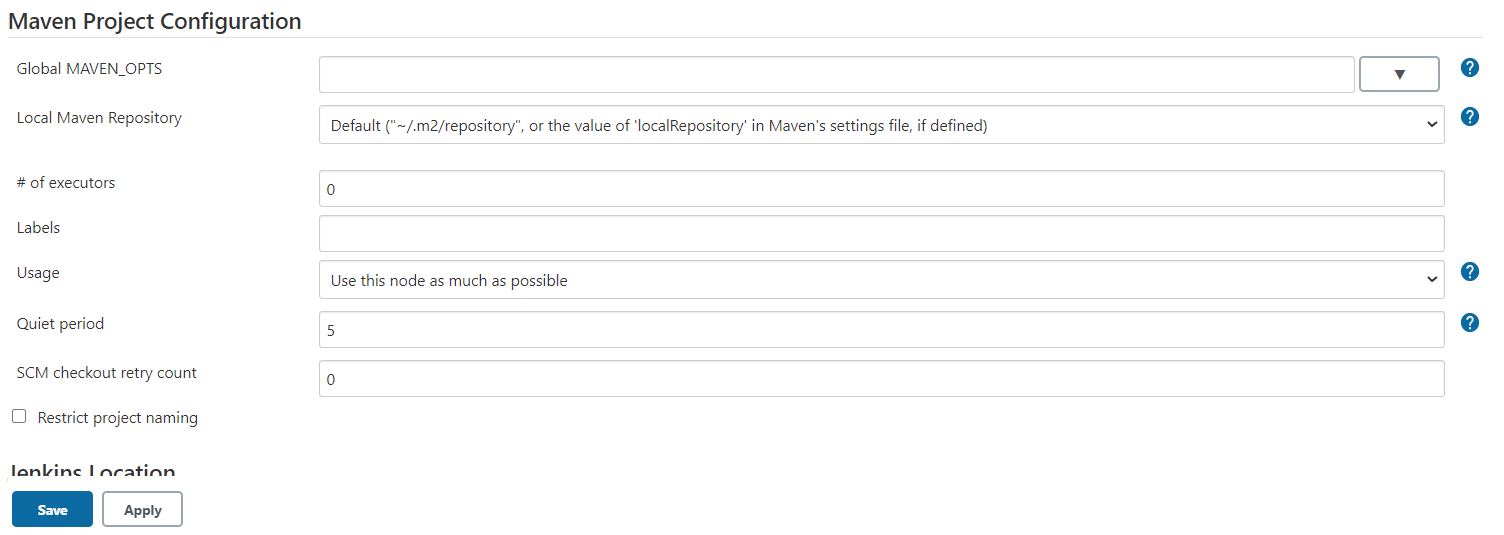
- Then, you also need to install Maven, which will be used for building the project. For that, navigate to the Manage Jenkins > Configure System menu, scroll down to the Maven section and click Add Maven
- Within the expanded section, type the desired name for your Maven installation (e.g. Maven) and Save the changes using the same-named button at the bottom of the page.

In such a way, this tool will be also automatically installed when required (i.e. during the first app build).
Now your Jenkins server is well-staffed for the further work. The next step is adding the appropriate management scripts to it, intended to execute the required operations over your project at various development stages.

