Varnish is a web-application accelerator also known as a caching HTTP reverse proxy for dynamic web-sites with high traffic. Unlike other proxy servers, it was initially designed to be focused exclusively on HTTP. Nevertheless, within the Apiqcloud implementation, it is delivered in a bundle with the NGINX server (run on the 443rd port as a HTTPS proxy), that gives the ability to work with the secured data and the Custom SSL option in particular. In this case, after the incoming traffic decryption, NGINX redirects it directly to Varnish (run on the port 80) to be further processed.
As an accelerator, Varnish only has basic load balancing support, which, however, still includes round robin and random redirector options, backend health-checking and more. But the emphasis is made on the speed, which is mainly achieved through the caching, that makes the web-site faster by offloading the static objects' delivery.
Besides that, Varnish is a modular software with a variety of modules available, including tools for statistics (like varnishstat, varnishhist), a powerful live traffic analyzer (varnishlog) and many others. Furthermore, this server is heavily threaded, with each client connection being handled by a separate worker thread. When the number of active worker threads reaches the configured limit, the incoming connections are put in an overflow queue. In case this queue grows to its stated limit, further incoming connections will be rejected.
So, if you want to get Varnish as a load balancer for your Apiqcloud environment, just complete a few simple steps described below.
Varnish at Apiqcloud
- Log in to the Apiqcloud dashboard with your credentials.
- Click the New environment button, located in the upper left corner.

- Within any programming language tab you need, activate the Balancing wizard section and choose Varnish using the corresponding drop-down list.

Set any other required configurations (add app server(s) and other instances, state resources limits by means of cloudlets sliders, enable External IP for nodes, etc). Then name your new environment (e.g. varnish) and proceed with the Create button. - In a couple of minutes your environment will be created.

That’s all about Varnish installation! Now you can proceed to its configuration.
Varnish Server Configurations
The Varnish load-balancer can be adjusted according to your needs in one of the following ways:
-
through accessing the required server via the Apiqcloud SSH Gateway:

- or by using the embedded Apiqcloud Configuration Manager for editing the configuration files:

Here are several examples of configurations that could be performed directly through the dashboard:
1. Link servers (even from other environments), which will be placed as backends of this load-balancer. For that, add a new record at the beginning of the vcl > default.vcl file, similar to the one below:
backend server_identifier { .host = “server_intenal_ip"; .port = “80”; }
where the values in bold should be substituted with your custom ones:
- server_identifier - any preferred name of the linking server
- server_internal_ip - address of the required server, which can be found through selecting the Additionally button next to it

After that, add another string a bit lower in the sub vcl_init section under the new myclust = directors.hash(); line in the following format:
myclust.add_backend(server_identifier, 1);
where, obviously, the server_identifier value should be specified, the same as it was used in the previously added string. Use the image above as an example.
Once these configurations are done, Save the made changes and Restart the load-balancer server to apply them.
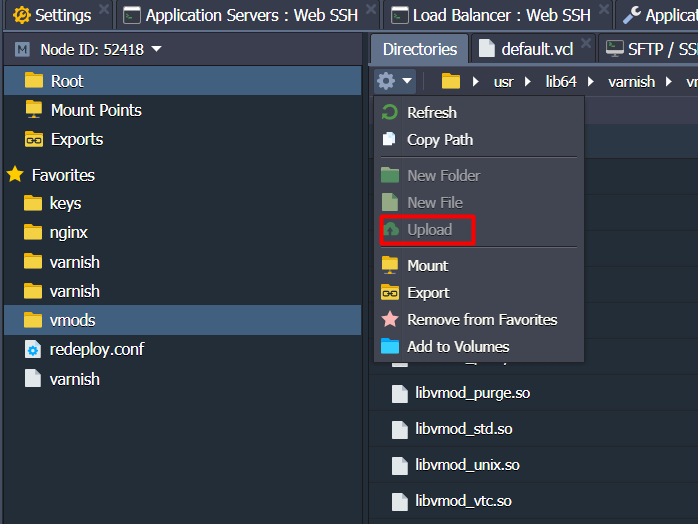
2. Apply custom Varnish modules to your server by means of uploading them into the vmods folder.

3. Adjust the initial Varnish daemon’s parameters, that are read from the sysconfig > varnish configuration file on every balancer start up.
We hope that this instruction will help you to configure your Varnish load-balancer according to your needs. -

