Update Container via Dashboard
The most straightforward and user-friendly way to redeploy a template tag is to use the Apiqcloud dashboard. The instruction below will walk you through the required steps:
1. The dedicated redeployment dialog frame can be accessed in two different ways:- select the Redeploy Container(s) button next to the required node or layer (for updating all the comprised containers at once)
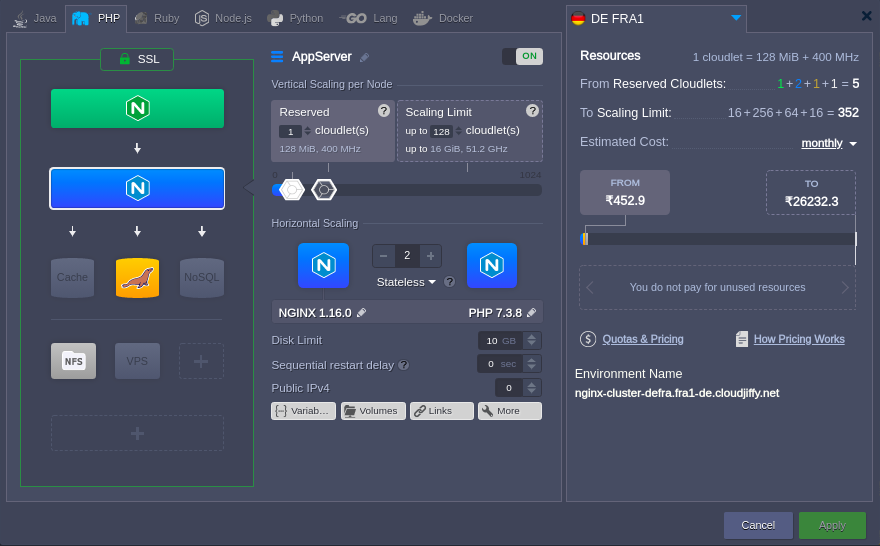
- Click the pencil icon next to the layer tag version in the topology wizard (when Changing Environment Topology of the existing environment)

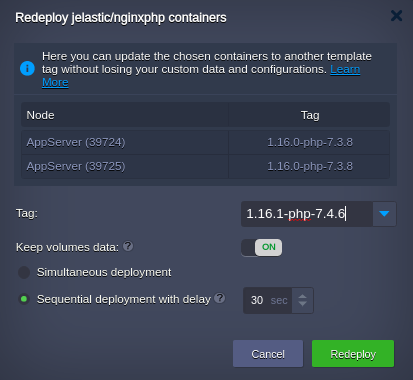
2. As a result, the Redeploy containers frame will be opened, where you can select a new Tag for your container(s).

Also, you can adjust some additional options:
- Keep volumes data - if enabled, data in the volumes will be protected from erasing and will remain available after redeploy
- for horizontally scaled containers, you can choose between two deployment options:
- Simultaneous deployment - redeploys all nodes at once, which is comparatively quicker but cause a brief downtime of your application
-
Sequential deployment with delay - redeploys instances one-by-one with a specified delay between operations. This option ensures that there is always a running node to process incoming requests (i.e. no downtime)
After all the configurations are set, click the Redeploy button and confirm within the pop-up.
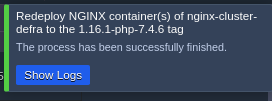
3. Once the update is completed, you’ll see the corresponding notification in the top right corner of the dashboard.

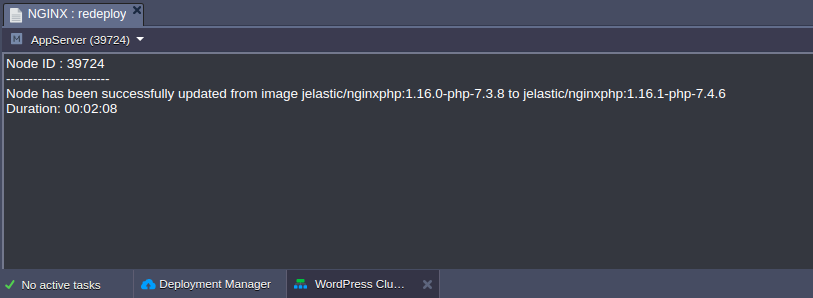
Click the Show Logs button to open the appropriate tab with information on the updated container - Node ID, name:tag, and Duration.


